Design Course
Flipbook Animation
Art of Making Flipbook
by
The Making
The process of making a flipbook is explained below in 5 simple steps.
Step 1:
To make a flipbook animation, one can start with taking a pencil and a paper stack of small size like 5 to 2.5 inches or any other size. The size of animation and its subject is not restricted. One can use a note book or a paper stack for drawing.
Before starting, the approach of the work has to be understood. There are two ways.
• Try making a storyboard with pose-to-pose technique.
• Or else, drawing directly on paper using straight-ahead technique.
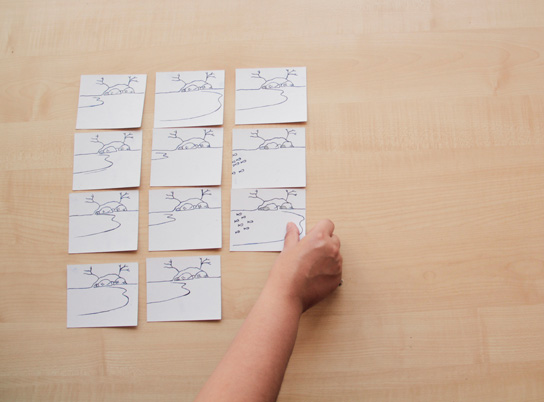

Story board preparation for flipbook.
Step 2:
Moving on to the second step, take a simple stick figure, like a short cyclic action which changes into a loop animation. For instance, activities like walking, running, jumping etc.
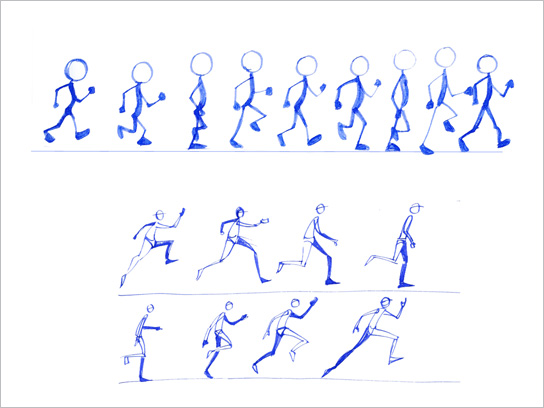
Cyclic / Loop animation.
Step 3:
With the third step the animator decides how a character will behave in its line of action and path of action. This is the time when a light box is helpful in tracing and tracking a path more comfortably. During this step of creating frames, placement of paper and its drawings has a major role. Light box helps to imitate the earlier drawing with reference to the latter.
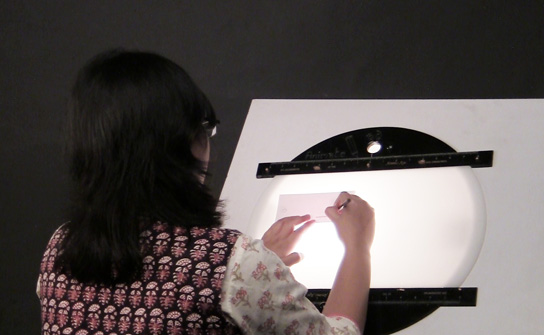
Tracing the drawings
Step 4:
In fourth step, the actual process of drawing starts. You have to draw the pre-planned key frames from the earlier stage and then keep adding or subtracting the frames for a smoother look.
After drawing stick human figure in the fourth step, flip the paper for testing of animation.
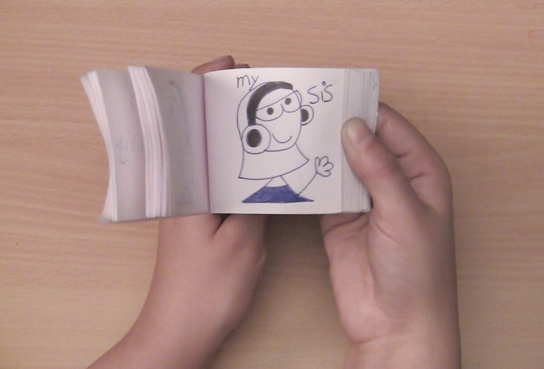
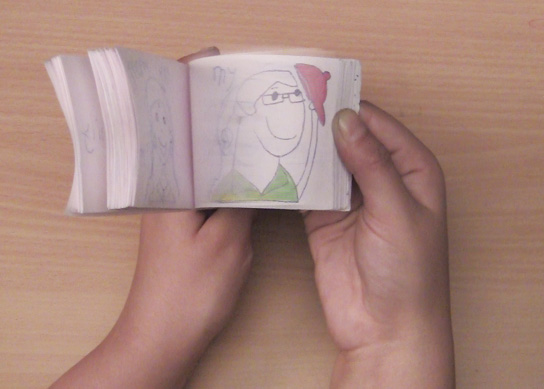
Flipping and Testing.
Step 5:
The fifth step is important to understand, especially for those who have followed the straight-ahead animation principle. In straight ahead, the final animation might end up being of long duration, so one has to keep a check on the narrative, by flipping the drawings and keeping the story interesting. Thus, it is better to draw less frames, say 20 to 40 for any movement or sequence.
In a pose-to-pose animation, the number of frames is already defined or pre-planned which will be a conscious decision by the animator. The restriction on the number of frames may be because of many reasons, for feasibility in flipping paper, for better attention span or for cutting down laborious work.