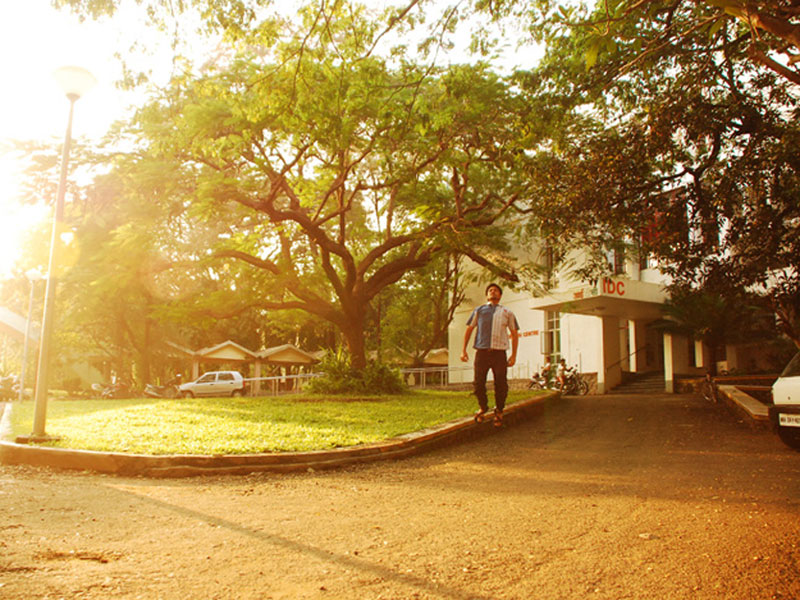
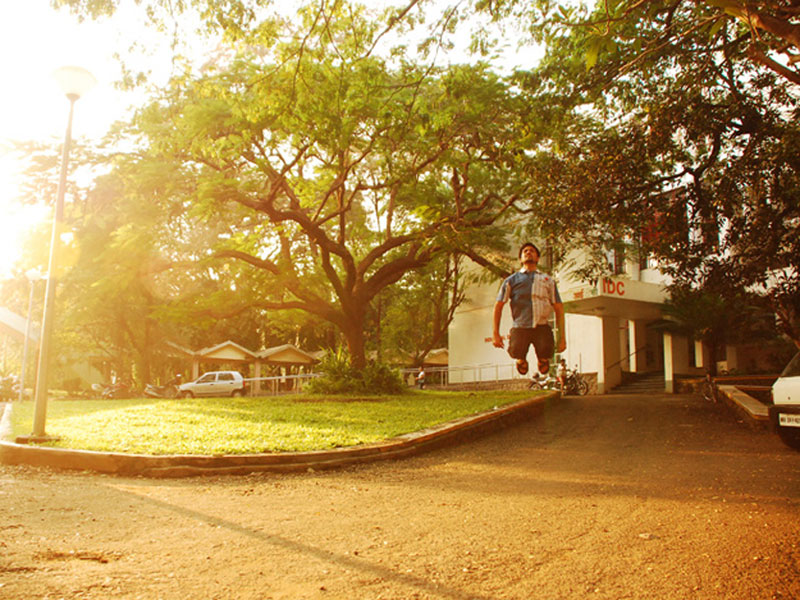
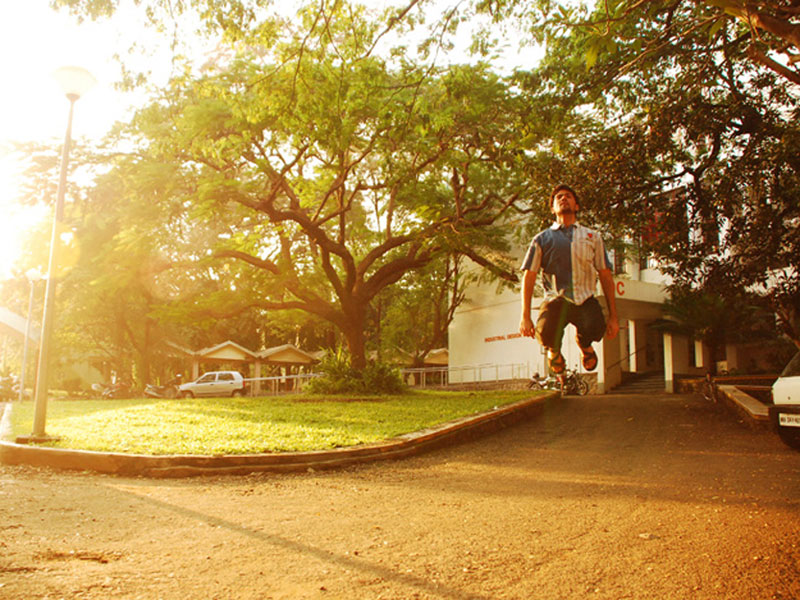
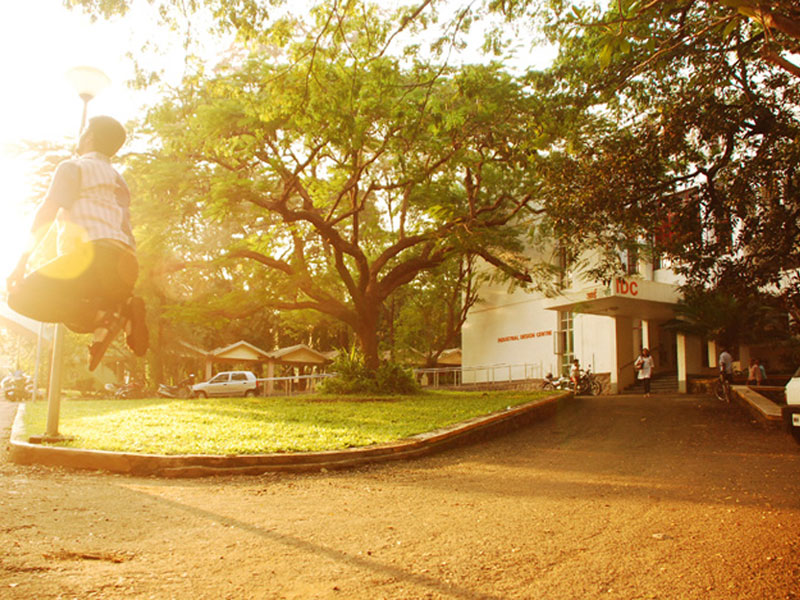
Pixilation is a stop motion technique in animation where live figures perform movements that are captured frame by frame. It is a controlled form of capturing images and shows interesting results. For example, figures can be seen flying, levitating or sliding in dramatic ways. This is achieved by capturing repetitive actions performed by the figures across a space. If we wish to show a figure floating then we will make the person jump and capture the image when the figure is in the air every time. When these images are assembled in the video editing software the figure appears to float. Pixilation is often used in combination with time-lapse with amazing results. Examples of these can be found in the gallery section.
Equipment Required:
- Tripod
- Digital Camera with minimum 2GB memory card
- Stopwatch
- Laptop or Desktop
- Firewire cable/data transfer cable
- Video/Image editing software (Movie maker, Adobe Premiere)
- Remote for capturing images (optional)
Assignment 2:
Directions:
• Choose the activity you wish to perform.
• Decide how long you wish your animation to be.
• Based on the activity decide the intervals at which you will capture the image.
• Set your camera to manual white balance, manual exposure and image format as jpeg.
• If not comfortable you could try auto settings but it is preferable to use manual settings for better results.
• Mount the camera onto the tripod and ensure it does not move.
• Using the stopwatch capture the images at the decided intervals.
• Image resolution needs to be 720 X 540 or higher but not bigger than 1024 X768 at 72dpi
• After the shoot is over, download images to your laptop/desktop.
• Edit the images in Photoshop if necessary (optional).
• Assemble the images in the Video/Image editing software.
• Add music or sound effects to complete your film.
• For a trial assemble the images from the pixilation folder and watch the fun.
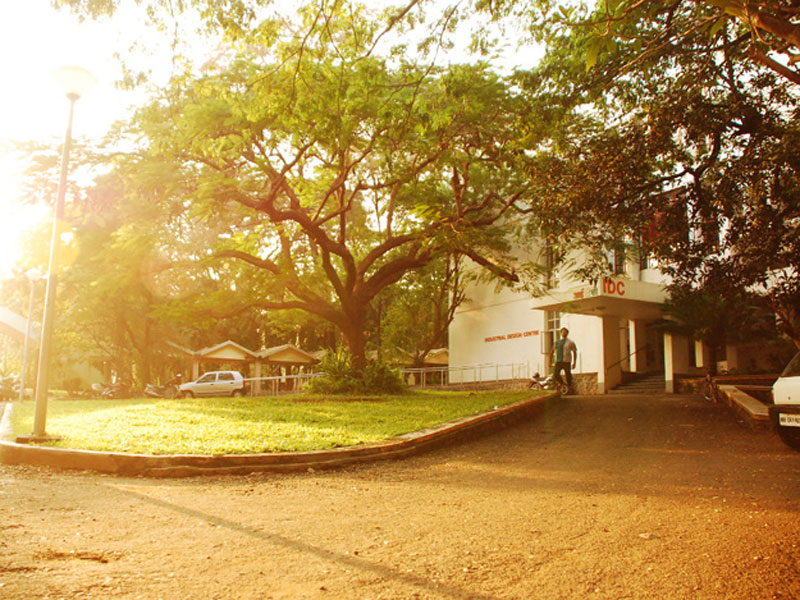
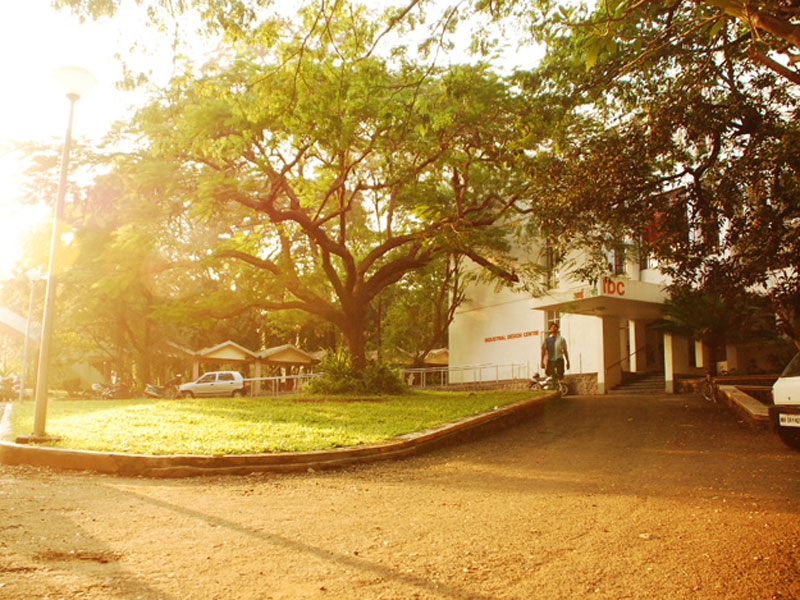
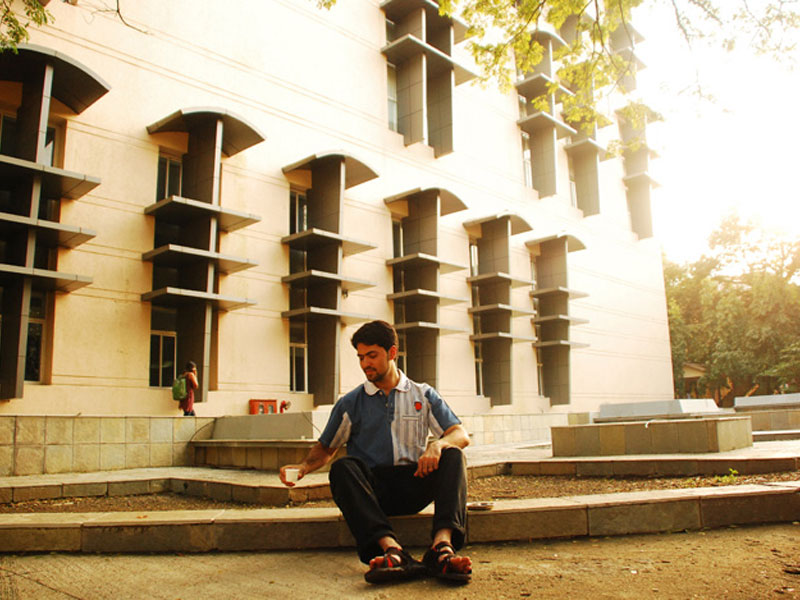
Shot-1:


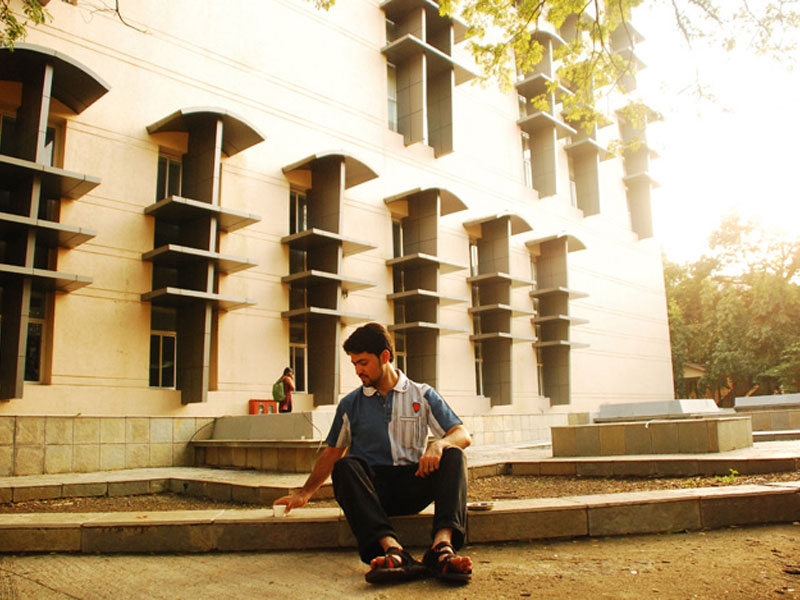

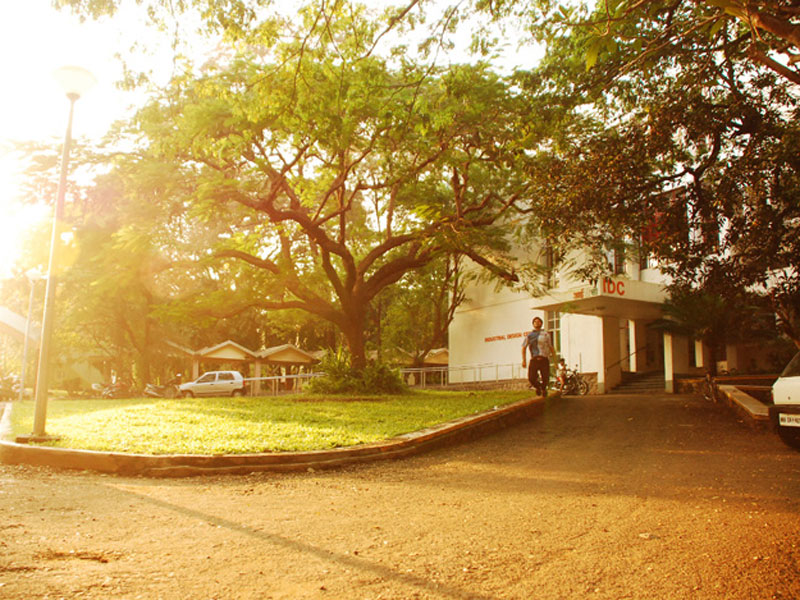
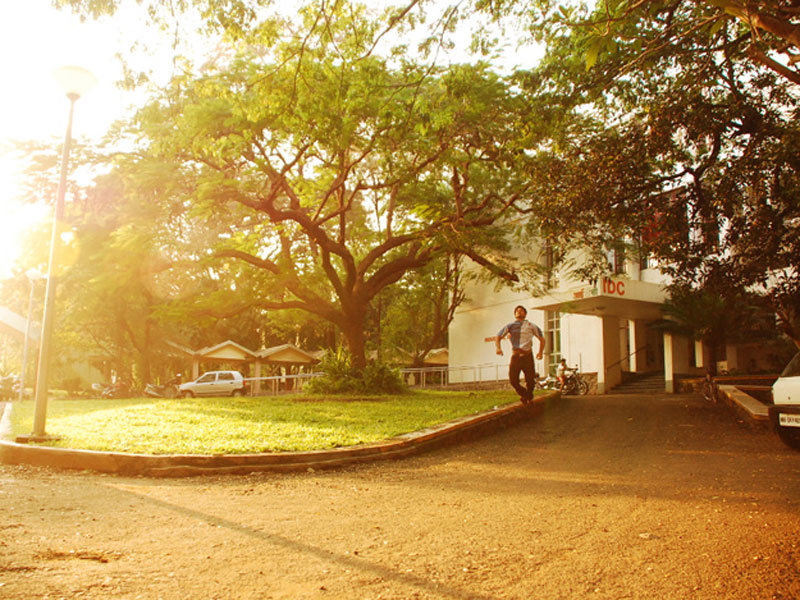
Shot-2: