Design Course
Clay Animation Module - 2
Making a Wire Armature
by
Introduction
An armature is the skeleton or the basic support for your Claymation character. It helps in holding the character together and allows the animator to move it in small increments for animation.
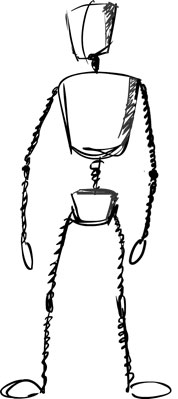
Basically you just need to keep 3 important points in mind to build a good stop motion armature:
1. Your armature should be as light as possible.
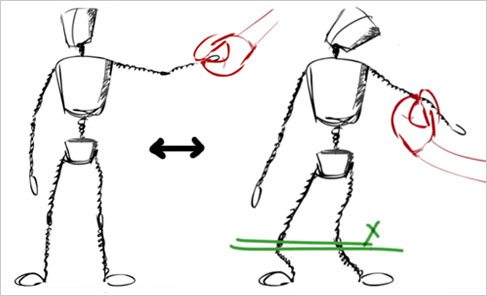
2. If you want to move the arm, only that should move and not the complete armature.
3. In case of big volumes use thermocol or plaster of paris. Use minimum clay. Clay is heavy and makes your model unstable.
Designing a character for stop motion is a little different from a 2d character. Claymation characters need to be physically animated. Hence they need to be light-weight so that they don’t fall. Even in a light-weight character the weight has to be distributed such that the character is well balanced.
For example:
It’s difficult to manage a character, which has big head and chest and thin legs. May be we need to make the upper body extremely light (by using light materials) and feet very strong (strong wire or some heavy material) for balancing it.

Your design completely depends upon what action your character will be doing in the animation. Accordingly, you can decide how many joints are required in the body.
If you are planning for a long duration film and have the budget you can even buy a ball and socket armature. The armature requires a bit of planning and patience in order to make it correct, but once you know the process it’s not difficult at all.
Here, you can see how I have made an armature of a ninja character and a quadruped using an aluminium wire. This method is good for short term projects or for performing experiments. But remember this is not the only method. I am sure you can figure out different ways of making an armature according to your character design.
There isn’t any right or wrong when you are constructing a puppet, it’s only what works and what doesn’t work well. If your armature is properly constructed it’ll be fun animating your character. But if it’s incorrect or disproportionate, then animation will become difficult.
So make sure your armature is made properly, it’s worth the effort.